Handle With Care: Catch & Release Kayak Fishing
By: Matt Stone
If you are like most anglers, the majority of brainpower that you dedicate to fishing likely focuses on how to catch the fish. However, one aspect of fishing which is way too often overlooked is how to properly care for, handle, and release the fish you've caught. Treating the fish haphazardly and then tossing it back does no good if it's so damaged that it will suffer or die anyways. Luckily, there are some easy ways to ensure the long term health of the gamefish that we chase so passionately, especially when fishing from a kayak.
Kayak anglers have a particularly precise standard of care, because our smaller boats require optimizing the space taken up by the sometimes burdensome amount of gear on board. Depending on the kayak, you're going to have limitations in terms of where to store tackle, rods, safety gear, snacks, and rain gear, not to mention yourself! Honing in on a favorite in-kayak gear schematic will take trial, error, and some inevitable cursing at the fishing gods because you forgot a crucial piece of equipment. Hey, it happens. If during this preparation process you don't think too much about how to handle and release the fish you catch, now is the time to start learning, for a variety of reasons:
- Ensuring continuously healthy populations of your favorite game fish
- Respectful and humane treatment of a living creature
- Your own safety (no matter who you are, a hook in the hand = a bad day)
- Use of proper handling techniques and gear allows you to take excellent photos that you otherwise wouldn't get due the pure chaos that can come when landing a fish in your kayak
Like most, I am guilty of occasionally getting caught up in that magical moment of glory and relief after fighting and landing a big fish from the kayak. At times, it's impossible to follow all of these steps when handling a fish. However, knowing them is the first step to making them an innate part of our fishing routine. This article will detail some tried and true best practices for safe catch and release strategies while fishing from your trusty kayak.

CATCH & RELEASE GEAR
Stop me if you've heard this before: Preparation should begin before you get on the water. Well, sorry, that old adage is relevant here, too! The effective organization of your kayak, and thus preparation for good catch and release routines, should begin when packing up gear.
For kayak fishing catch and release, I recommend a rubber mesh net, pliers, lip grippers, a knife, and fishing gloves. Why rubber mesh on the net? It helps keep a fish's protective slime coating intact by reducing friction against their scales. Some fish are heartier and can endure more than others, but rubber helps and is an easy adjustment to make when ordering your next landing net. As a bonus, tangled hooks are much more easily removed from rubber nets than regular mesh netting. Fingerless sun gloves are also great if you haven't tried them yet. They'll allow retention of rod sensitivity and knot-tying ability while preventing sunburn and keeping spiny fins out of your hands when handling a fish. As far as storage, you'll need these items in a pinch, so keep them close and easily accessible, not buried in a hatch or tank well. All of my gear is attached to my PFD or in side storage areas in the kayak, while the net is behind my seat to avoid tangles. Try a few different setups and see what works best for you and your kayak.
Lastly, if you use a tripod, selfie stick, or camera mount, make sure your phone or camera is securely attached before leaving shore. If you have a fish at the kayak and haven't set up for a photo yet, the time it takes to do so is time that fish is in distress and, if the water is warm, you may be inflicting serious harm without realizing it. Over time, narrowing down the gear you bring on C&R trips will happen naturally. The main takeaway is to do your best to keep the fish healthy.
LIPS, GRIPS, NETS, AND FLIPS
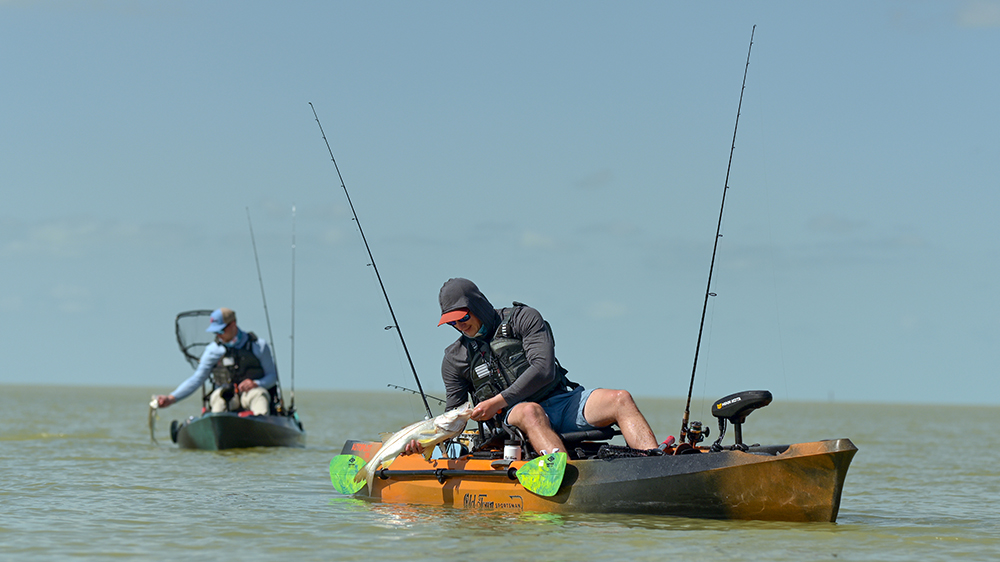
When landing a fish, quickly decide an order of operations for how to do so. For most fish, leading them into the net is a good first step. It buys time to organize, prep for a picture, and scream triumphantly at the sky, if that's your thing. If your catch is too big for a net, first of all, I'm jealous, and secondly, I'd recommend starting the landing process by lipping the fish with your hand if possible, and then getting lip grips attached.
Since space is limited, and angry fish tend to send hooks into places we don't want them to go, avoid "boat flipping" your fish. There's a good chance the hook pulls during the flip, and a wily, angry fish in a compact kayak is a recipe for a trip to the ER, or at the very least, a story that's memorable for all the wrong reasons. It's also possible that the fish could hurt itself while flopping around like crazy in your kayak.
Assuming the fish is netted, keep it submerged if possible. Sometimes this can't be done for a variety of reasons, but if you can make it a part of your regular routine, the fish will be all the better for it. This step is especially crucial in warmer summer temperatures, as fish mortality rates rise with increased handling during hotter months like July and August. Usually, this is also a great chance to remove the hooks, but sometimes we like photos with the lure still in the fish's mouth, and that's perfectly fine too. If that's your plan, put the fish back in the submerged net after getting your hero shot. The less time that fish is out of its natural habitat, the better.
For some species, lipping the fish and removing the hook is easy to do. For others, watch those fingers! This is where lip grips come in handy. Some are metal, some are plastic, and some have built in scales, but all of them make handling toothy critters much easier and safer for all involved. If you can't lip the fish but need to gain control for a photo, measurement, or hook removal, some grips are key. Not only do they help with catch and release, but I also tie rope to my grippers and latch onto my fishing buddies who have Old Town AutoPilots with Spot-Lock technology to create a party barge, which are especially fun during tautog season!
HANDLING WITH CARE
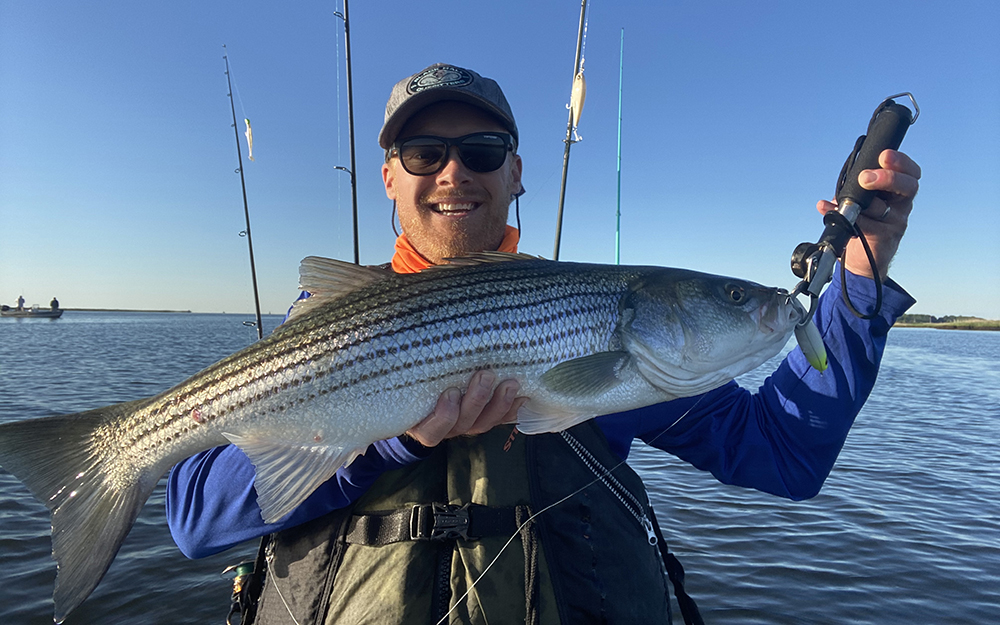
Whether for a photo, to show fishing buddies, or simply to admire, you'll probably lift the fish out of the water at some point. Here are some tips that will help keep it healthy during that process:
- Never put your fingers into the gills.
- When lifting a large fish out of the water, support its belly with your hand (see image).
- Keep fish, especially larger ones, horizontal, rather than holding vertically. Fish live horizontally, so the vertical gravitational pressure on their insides can be harmful.
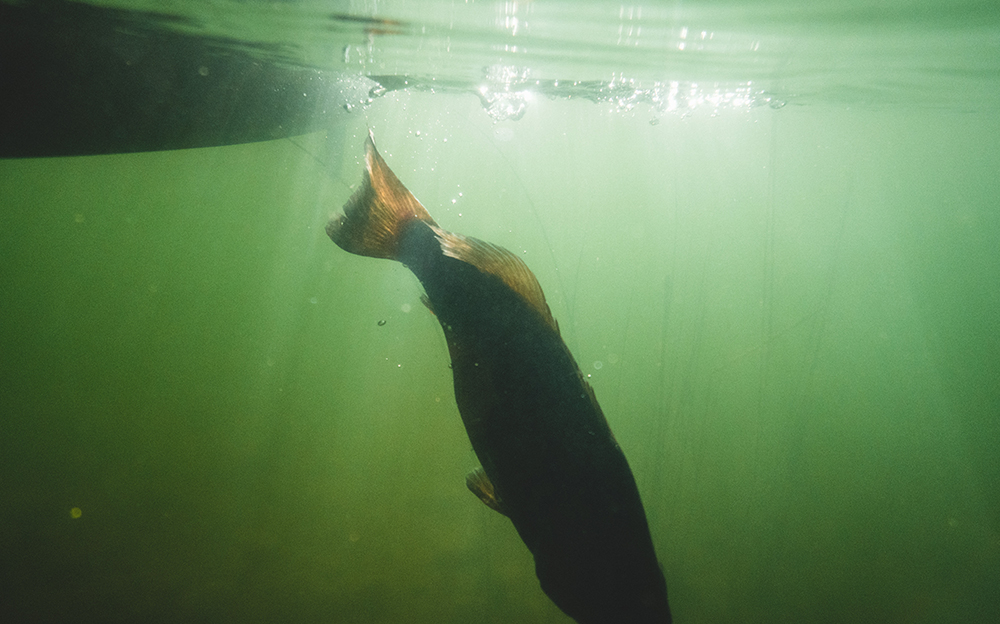
REVIVING, SURVIVING, AND THRIVING
Send it! Time to let 'em go and let 'em grow! The best case scenario here is that your fish kicks off strong and you can carry on. However, sometimes the bigger fish, especially those who battled for quite a bit, will need to be revived. When reviving a fish, submerge their mouth and gills and move them in a figure 8 pattern. This allows water to flow over their gills and lets them catch their breath. If you can, use pedals or your Auto Pilot motor to turn into the current and get as much water moving over their gills as possible. For a sign they might be ready to go, feel for a gentle "bite" on your hand or look for their dorsal fin to rise. Eventually, you can gently push them off. Sometimes a gentle grab of the tail will also serve as a final motivator for them to zip away into the depths.
No matter how big or small and regardless of species, we as anglers should do our part to help preserve the future of our fisheries so that others can enjoy them just as much as we do. Whether that is choosing to harvest a fish within legal limits and seasons to enjoy for the table, or following these suggestions for an effective catch and release trip, try to help with preservation. If you do choose to catch and release, remember that we don't just want these fish to survive, we want them to thrive!