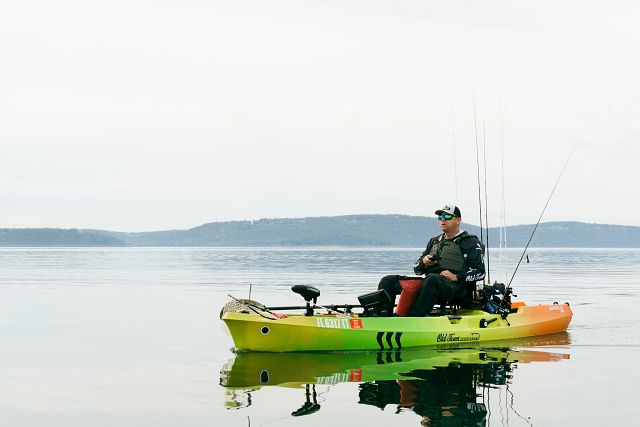
Fishing Kayak Maintenance Tips

It's time to think about dusting off your watercraft for another season of great fishing, paddling, and on-water adventure.
If you were diligent in preparing and storing your watercraft for winter, preseason prep should be a quick and painless process. We've compiled a short guide on maintenance items you should check before hitting the water.
Pedal Kayak Maintenance
Old Town PDL pedal fishing kayaks are designed to be low maintenance, but we always recommend performing some basic annual inspections and maintenance to ensure your rig is running well for years to come. Continue reading to see what you can inspect, and the parts you should carry in case you need an on-the-water repair.
Pedal Tightness
Over time, pedals may loosen. Use a 15mm wrench or bicycle pedal wrench to ensure that the pedals are tight. Be careful not to overtighten.
Propeller and Pins
Check your PDL propeller for damage, looseness, and debris such as aquatic vegetation or fishing line. These can wrap around the propeller shaft and negatively impact performance. When checking behind the propeller for debris, inspect the prop pin for corrosion or damage. The prop pin is a consumable sacrificial part designed to protect the drive from severe damage upon a hard impact. For that reason, we recommend carrying a few extras with you at all times, along with an extra propeller.
Purchase spare PDL propeller kits.
Purchase additional propeller pins.
Crank Arm Bolt Tightness
Over time, crank arms may loosen. Use an Allen key to ensure that the crank arms are tight.
While it's rare that you will experience issues with your crank arms, we do sell spare crank arm and pedal assemblies if you like to be prepared for anything.
Purchase Spare Pedal Assembly - Left
Purchase Spare Pedal Assembly - Right
PDL Drive Lock Knobs
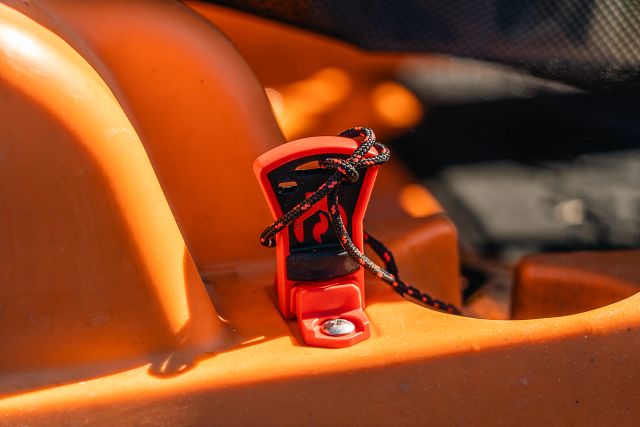
Inspect the three half-moon-shaped lock knobs used to secure the drive unit to the kayak. They may also loosen over time. Use an Allen key to tighten. The lock knob is a consumable sacrificial part designed to protect the drive from severe damage upon a hard impact. We recommend carrying at least one extra lock knob with you at all times.
Paint
The metal driveshaft and lower unit are powder-coated to protect from corrosion. Upon general inspection, look for chipped paint on the drive unit. Use oil-based marine-grade paint, like the Uni-Paint PX-30 paint marker, to touch up any chipped spots to prevent corrosion.
Test at Home
With your kayak on sawhorses, install the drive into your kayak hull and test functionality. Inspect components, connections, and functionality before taking to the water for the first time.

Motorized Kayak Maintenance
Whether you have the AutoPilot or the 106 Powered by Minn Kota, a little basic annual maintenance goes a long way in keeping your fishing kayak running smoothly. The following tips and spare parts should keep you covered for another year of catching fish and chasing adventure.
Propeller and Pins
Check your AutoPilot or 106 Powered by Minn Kota propeller for damage, looseness, and debris such as aquatic vegetation or fishing line. These can wrap around the propeller shaft and negatively impact performance. When checking behind the propeller for debris, inspect the prop pin for corrosion or damage. The prop pin is a consumable sacrificial part designed to protect the drive from severe damage upon a hard impact. For that reason, we recommend carrying a few extras with you at all times, along with an extra propeller.
Purchase Spare Minn Kota Propeller Kits
Kill Switches
While these are not a consumable part, they are one that we often forget or lose. There's nothing worse than getting to the launch point and realizing you don't have your kill switch key. We recommend buying a few extras and keeping them in your storage hatches, tackleboxes, or life jacket pocket so you always have a backup.
Purchase Spare Kill Switch Kits

Plugs and Terminals
Inspect the motor and battery box plugs and hull terminals, cleaning any debris using cotton swabs and a shop cloth. If corrosion exists, use a light abrasive pad or fine grit sandpaper to clean any buildup. Apply a pea-size dollop of dielectric grease to the plug and socket to ensure a clean connection and prevent corrosion.
Battery
Consult your battery manufacturer's specifications regarding storage, charging, maintenance, and use. It's always a good idea to test the health of your battery before hitting the water. Clean the terminals and check your battery box connections, as they may loosen over time. Use an adjustable wrench to tighten connections if needed. Loose terminal connections can cause arcing, damaging the battery.
Test at Home
With your kayak on sawhorses, install the drive into your kayak hull and test functionality. Inspect components, connections, and functionality before taking to the water for the first time.
Before heading out on the water this spring, remember that the water will be cold. Always dress appropriately, wear the proper safety gear, and ALWAYS wear your life jacket when out on the water.


